Proof of concept.
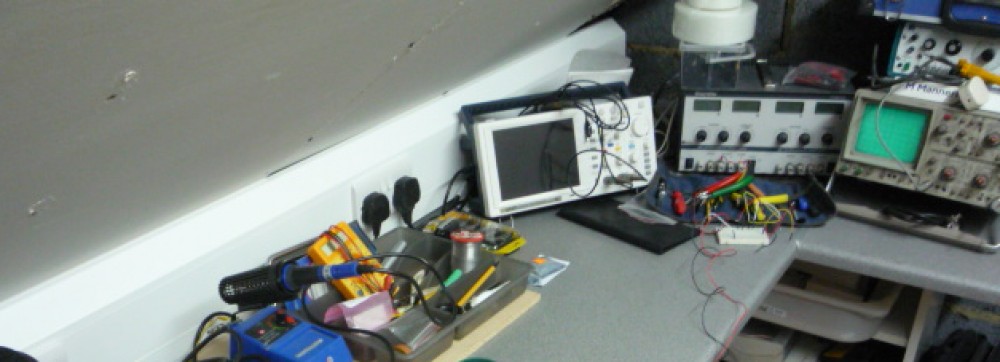
Been a bit slow with this update, which is mainly down to having to finish decorating the stairs to the bedrooms which allow access to my attic electronics workroom.
However much has been going wrong and right while the decorating took place.
Royal Mail has delivered my garden water timer purchased from E-Bay, nice unit seems a shame to start to dismantle it, but we must boldly go were others fear to tread.

Hose timer as sold on EBay
First remove the grey battery case, this reveals two case screws, which can be removed with a long thin Philips head screw driver. However the top of the case will not budge. The green plastic must be cut at the top to reveal the third and final Philips screw.

Three screws later and the water timer is partially deconstructed
Three screws removed shows the connections to the battery pack 2AA cells meaning the unit will run from 3 volts down to about 2. 5 Volts. The little motor and gear box flip the valve open and closed. The Green PCB hides a microprocessor and rotary position switches which control the motor through a discrete six transistor H-Bridge motor control.

Close up of valve and motor actuator
Close up of the lower housing with motor (black lump). The top white gear driven from the cog on the motor spindle turns through 180 degrees of rotation, before hitting a stop at the end of travell. It appears that the motor is pulsed for a small time sufficient to rotate the white main gear from one stop to the other but short enough that when the motor is stalled at the end of travell that the curent drawn in stall does not burn out anything.

Hacking the electronics for a proof of concept
This picture shows the other side of the PCB with the minute switch removed. Desoldering the switch is not a task for a beginner and the desoldering iron is heavily used to achieve this state. Well worth the effort as I am now able to connect in turn the on and off switch pads to the negative and positive power rails and activate the motor to open and close the valve at my command.
Now I have got this far the thought of trying to tack my Atmel ATtiny85 processor onto the existing PCB seems to be an ugly patch too far, especially as I have started to think that this valve unit can be adapted to a greenhouse misting system, by adding a humidity sensor and changing some code in the processor.
So what next build a new circuit.
Now I hate to design and build a PCB at concept stage and over the years I have found a simple set of programmes that allow me to breadboard a circuit on Vero Board (strip board). I started my commercial electronics carrer using Vero Board so I am happy working with it. However a lot of time a heartache can be saved using veeCad this is like a PCB layout programme for stripboard and works well with TinyCad schematic drawing programme.
