I have long ago gravitated to Mac OSX as it is very resilient and almost virus free, but still the majority of electronics type programmes are Windows based.
So I started up my Vaio widows laptop and found that everything had been updated since I last used Windows, veeCad and TinyCad, so wait for the downloads and essential reboots.
Strange as it may seem I know about H-Bridges for controling a motor but have never used an H-Bridge chip or built a descrete transistor H-Bridge. After a couple of hours of browsing the net I have the descrete transistor bridge design I want (http//library.solarbotics.net/circuits/driver_tilden.html).
This is when the air turns blue.
Well not the air but me.
With my move from London to rural Hampshire (England) refurbishing our tired 1963 chalet bungalow has taken close on 18 months and left little time for electronics. As a result it has been close on two years since I used the two bits of software quoted above, honestly put I had forgotten that a three legged transistor can be assigned 1,2 or 3 for its legs so of course when I used the programme to draw the electronic schematic I forgot to check that the Veroboard layout might have assigned different numbers to the transistor legs. I nearly always lay up the links on the Veroboard first before inserting the components, so it was an hours work before I fitted the first two transistors and realised at this point they were not orientated the right way. So I had to dive into the two software packages and put their pin structures right. So start again with a new bit of board and a whole new set of links.
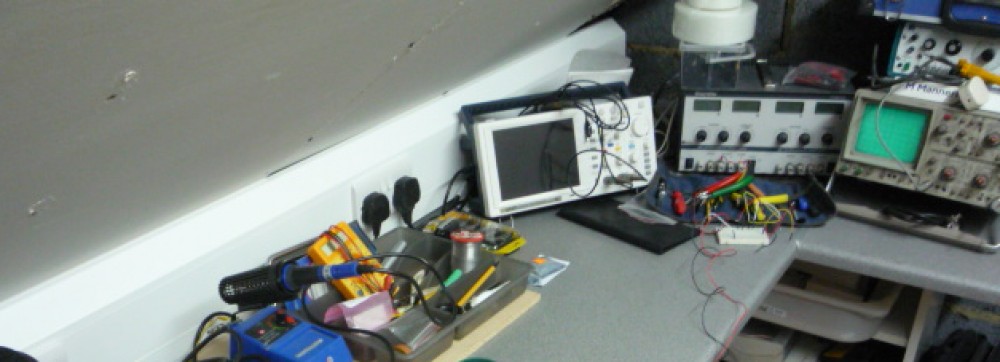
Having cut all the copper tracks in the right place and soldered in all the links and the components (except the microprocessor chip) it’s now time to connect the circuit up to the lab bench power supply. These are a boon as you can set the voltage required to run the circuit but with minimal current set. By doing this it is usually possible to slowly turn up the current supply to the circuit and check to see if an abnormal amount of current is flowing, which usually means a short or a bad positioning of a link. Alls well the current stabalises at almost nothing. Now we can connect the motor to the bridge outputs and to my great glee no current flowing. Next a very crude technique in the prototype test arsenal take a wire and touch it to one of the inputs of the H-Bridge and the positive supply very briefly. Oh what joy motor turns gear wheel with a resounding clonk as it hits the end stop. Using the wire on the other input to the H-Bridge causes the motor to turn with a very satisfying clonk in the other direction.
